
TL;DR
Properly packing and storing dorm supplies for summer break keeps belongings safe and organized. Focus on decluttering, protecting items, and choosing the right storage spots to avoid damage and save space.
Summer break hits, and suddenly your tiny dorm room feels even smaller. Your goal? Pack up everything efficiently, keep it safe, and avoid the chaos of last-minute storage. You want your supplies to stay fresh, mold-free, and ready for your return. It’s not just about tossing things in boxes—smart packing makes all the difference.
In this guide, you’ll learn exactly how to declutter, protect, and store your dorm gear. Whether you’re a seasoned student or new to dorm life, these practical tips help you avoid pests, damage, or misplaced items. Plus, you’ll discover how to maximize your limited space and stay organized, so summer doesn’t turn into a storage nightmare.
Declutter thoroughly before packing to save space and reduce stress.
Clean and dry everything to prevent mold, pests, and odors during storage.
Use vacuum-sealed bags for clothing and linens to cut space by up to 75%.
Label all boxes clearly and create an inventory for easy unpacking.
Store belongings in cool, dry, dark areas to avoid damage and deterioration.
How to Pack and Store Dorm Supplies for Summer Break
Turn move-out chaos into a clean, compact system. Declutter first, remove moisture and food residue, protect fragile belongings, then match every item to the right container and storage environment.
The three moves that prevent storage regret
Good summer storage begins before the first box is sealed. Every item should earn its space, be completely clean, and receive protection suited to its weight and material.
Declutter with intent
Sort belongings into keep, donate, discard, and take home. Removing unused duplicates saves storage volume and makes fall unpacking faster.
Clean and dry
Wash fabrics, wipe electronics, empty appliances, and remove every crumb. Allow items to dry fully before sealing them away.
Protect and identify
Wrap breakables, cap liquids, label every side that may remain visible, and record each container in a digital inventory.
Clean storage is safe storage
Pests seek crumbs and fabric residue. Mold needs moisture. Eliminate both before packing and you remove the most common causes of unpleasant fall surprises.
Before the lid goes on
- Wash bedding, towels, clothes, and removable fabric covers.
- Dry every item fully—even slight dampness can become trapped.
- Remove batteries from devices that will sit unused for months.
- Empty, defrost, clean, and prop mini-fridge doors open.
- Discard perishables and avoid storing opened food packages.
- Use cedar blocks or suitable deterrents away from food and fabrics.
Moisture is the enemy
Basements, garages, and attics can expose belongings to humidity, flooding, and temperature swings. Elevate bins off the floor and avoid exterior walls when possible.
One repeatable chain for every box
Use the same sequence for each category. Consistency reduces forgotten items, unbalanced boxes, and unlabeled containers.
Sort
Keep only what mattersClean
Remove dirt and crumbsDry
Eliminate moisturePack
Heavy low, light highTrack
Label and inventoryChoose protection by item type
No single container works for everything. Balance compression, ventilation, visibility, crush resistance, and cost.
| Storage method | Best for | Space saving | Moisture barrier | Crush protection | Key caution |
|---|---|---|---|---|---|
| Vacuum-sealed bag | Clothes, bedding, towels | ✓ Excellent | ✓ Strong | ✗ Low | Avoid sealing damp or ventilation-sensitive fabrics. |
| Clear plastic bin | Kitchenware, shoes, mixed supplies | ~ Moderate | ✓ Strong | ✓ Strong | Choose stackable shapes and secure lids. |
| Cardboard box | Books, low-risk dry goods | ~ Moderate | ✗ Weak | ~ Moderate | Keep elevated and away from humidity. |
| Padded sturdy box | Fragile décor and glassware | ✗ Limited | ~ Varies | ✓ Excellent | Fill empty space and mark every side “fragile.” |
| Climate-controlled unit | Electronics, artwork, valuables | ~ Varies | ✓ Excellent | ✓ Excellent | Higher cost; reserve for sensitive belongings. |
Standard or climate-controlled?
Most clean, dry clothes and linens can use standard storage. Sensitive, valuable, or irreplaceable items deserve tighter environmental control.
If heat or humidity could ruin it, upgrade the environment.
Before booking off-campus storage, check residence hall policies and university-recommended partners. Confirm access hours, insurance terms, security, and flood exposure.
From clutter to fall-ready
Every action protects the next stage. Break the chain—especially at cleaning, drying, or labeling—and storage becomes harder to trust.
Summer storage FAQs
The practical answers to the questions most likely to slow down move-out week.
How should fragile items be packed?
Wrap each piece in packing paper or bubble wrap, fill empty space, use a sturdy box, label it fragile, and keep it above heavy containers.
Can bedding stay in the dorm?
Only if residence hall policy allows it. Store clean, fully dry bedding in sealed bags and place it in a dry, dark location.
How can pests be prevented?
Remove food and crumbs, wash fabrics, use sealed plastic bins, and add an appropriate deterrent such as cedar away from food.
When should packing begin?
Start two to three weeks before departure. Pack rarely used items first and keep daily essentials accessible until move-out day.
Should food be stored over summer?
Generally, no. Discard perishables and opened packages. Even sealed food can attract pests or deteriorate when exposed to heat and humidity.
Declutter and Organize Before Packing — Clear the Clutter for Easy Storage
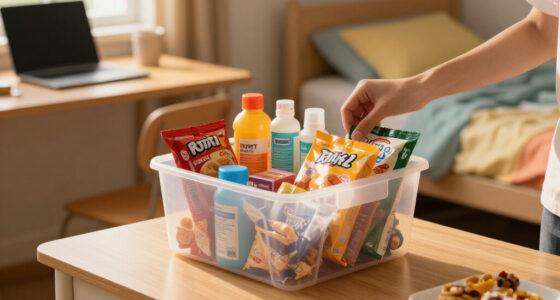
Start by sorting through everything you plan to store. Keep only what you truly need or love. Donate or toss the rest. This step saves space and makes packing easier. Use clear storage bins so you see what’s inside without opening every box.
Label each box with its contents and destination—under the bed, closet shelf, or attic. For example, mark a box “winter clothes” or “kitchen supplies”. When you return, unpacking becomes a breeze, not a scavenger hunt.
Here’s a quick tip: create a master list or take photos of packed boxes. That way, you’ll quickly remember what’s inside when you’re back on campus.
Deepening this step, consider the implications of over-packing or under-packing. Over-packing can lead to damaged items or difficulty in storage, while under-packing might mean missing essential items or having to repack later. Striking a balance ensures your belongings are protected without wasting space, and understanding what to keep emphasizes quality over quantity for items that matter most.
As an affiliate, we earn on qualifying purchases.
Clean and Protect Your Belongings — Prevent Pests and Odors
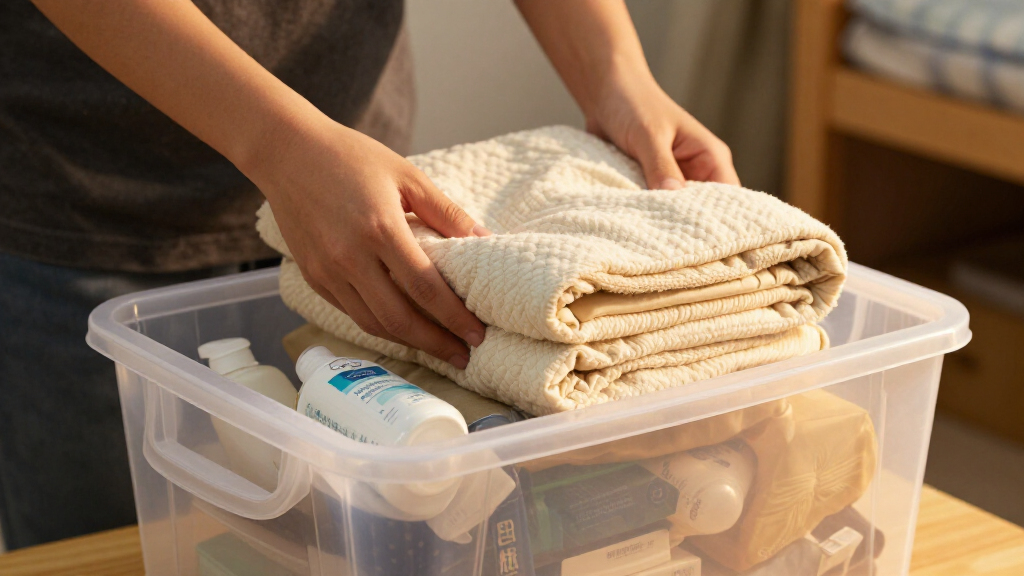
Before packing, give everything a thorough cleaning. Wipe down surfaces, wash linens, and dry items completely. Damp belongings attract mold and pests during storage. For fragile items, wrap them in packing paper or bubble wrap.
For example, clean your dorm pillows, vacuum-seal your linens, and wipe down electronics. This not only keeps your stuff fresh but also prevents surprises when you unpack in the fall.
Remember: dry everything entirely. Moisture is the enemy of stored belongings.
Understanding why this matters is crucial: pests like silverfish, moths, or rodents are attracted to leftover food, crumbs, or even the scent of unclean fabrics. Mold can develop in humid environments, damaging your items and creating health hazards. Proper cleaning and drying mitigate these risks, but also extend the lifespan of your belongings, saving you money and effort in the long run. The tradeoff? Taking extra time now results in fewer headaches later, making your storage both safer and more sustainable.
As an affiliate, we earn on qualifying purchases.
Pack Like a Pro — Use Space-Saving Techniques and Proper Containers
How you pack matters as much as what you pack. Use sturdy, stackable containers that fit your space. Heavy items like textbooks go at the bottom of boxes, lighter items on top. For clothing and linens, vacuum-sealed bags can cut space by up to 75%.
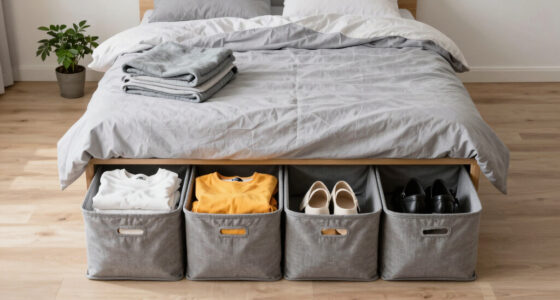
Imagine squeezing six full sets of sheets into a single vacuum bag or stacking boxes neatly under your bed. These tricks turn a cluttered closet into a sleek storage area.
To keep everything neat, consider color coding boxes or using clear bins for quick identification.
Deepening this advice, think about the tradeoffs involved. Vacuum-sealed bags are excellent for saving space but may not be suitable for items that need ventilation, such as certain fabrics prone to mold if stored in airtight conditions. Choosing the right containers involves balancing accessibility, protection, and space efficiency. Heavy-duty stacking containers prevent crushing and maintain organization over time, but they might be more expensive. Understanding these tradeoffs helps you customize your packing strategy to your specific needs and storage environment, ensuring your belongings stay intact and accessible when needed.
As an affiliate, we earn on qualifying purchases.
Frequently Asked Questions
How do I pack fragile items without breaking them?
Wrap fragile items in bubble wrap or packing paper and place them in sturdy boxes with plenty of padding. Label these boxes as fragile and keep them on top of heavier items to prevent crushing.Can I leave my bedding and clothes in the dorm during summer?
It depends on your school’s rules and climate. Usually, it’s best to store them in vacuum-sealed bags and keep them in a dry, dark place to prevent mold or pests. Check your residence hall policies first.What’s the best way to prevent pests in my stored belongings?
Thoroughly clean and dry everything. Use pest deterrents like cedar blocks or mothballs (away from food). Store items in sealed plastic bins and avoid leaving food or open bags in storage.How early should I start packing for summer break?
Begin packing two to three weeks before leaving. This gives you plenty of time to declutter, clean, and pack carefully without rushing.Are climate-controlled storage units worth the extra cost?
If you store valuable or sensitive items like electronics, artwork, or heirlooms, climate-controlled units help prevent damage from humidity, extreme heat, or cold. For most clothes and linens, standard storage works fine.labeling and inventory supplies for storage
As an affiliate, we earn on qualifying purchases.
As an affiliate, we earn on qualifying purchases.
Conclusion
Thinking ahead with smart packing turns summer storage from a chore into a simple task. Clear bins, proper cleaning, and good labeling make all the difference. When you return, you’ll find your belongings exactly as you left them — fresh, intact, and ready to go.
So start early, pack smart, and keep your dorm supplies safe. Your future self will thank you. After all, summer’s only a break — not a storage nightmare.